
Visit these helpful threads to learn how to scale the files you have to your body
Threads on scaling: http://www.405th.com/showthread.php/...r-Tutorial-V.2
http://www.405th.com/showthread.php/...-More-Tutorial
http://www.405th.com/showthread.php/...-Armor-Scaling
Make sure to scale correctly, it is such a pain to spend o much time on something just to find out it doesn’t fit.
Once you have scaled your file, print it and begin the tedious process of cutting all of the pieces out. It is also helpful to score (lightly cut) the dashed lines before you cut the pieces out.

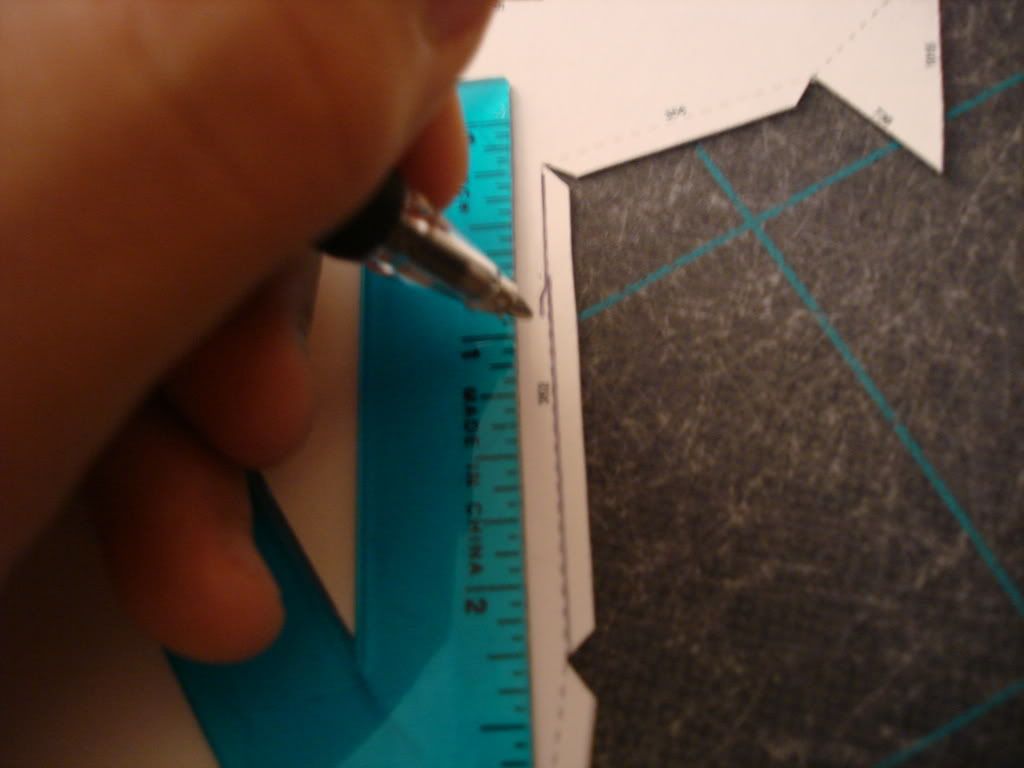
After you finish cutting, if you have not done so already you have to score the fold edges of the pieces, (The dotted lines). This can be done with pens, using separate colors for mountain and valley folds, or lightly cutting with a razor knife. Make sure to use a ruler to get a clean score!
Once your pieces are cut and scored you will have to fold them, mountain folds are usually gray and represented by a dotted line (………..) These you fold like this /\. Valley folds are the opposite, being folded like a “V” and are usually represented by a red dotted and dashed line (._._._._._._._.).

Now comes gluing. Take your glue and glue the pieces together according to the matching numbers, some files do not have numbers, for files like those using the Pepakura Viewer program to click pieces to see how they connect will be your lifesaver. Using Pepakura Viewer also helps even if files have the numbers, as there are usually many pieces and finding one number out of 500 can be a pain.
If you need more help with the Pepakura Stage, check these threads.
http://www.405th.com/showthread.php/...%28or-noobs%29
http://www.405th.com/showthread.php/...Pepakura-Armor
http://www.405th.com/showthread.php/...-Mjolnir-Armor
Whoa-ho-ho! This is awesome! But where's the finished product? I look forward to your posts! +follow
ReplyDeleteDude, that is SO FUCKING AWESOME! I want to see a pic of it finished!
ReplyDeletewow that is really cool! I wanna see it finished!!
ReplyDeletethis looks fregan sweeet
ReplyDeletelooking forward to the finished product :D
ReplyDeletewhoa this looks sick. i wish i had the patience to do this xD
ReplyDeleteso intricate!
ReplyDeleteThis was great, couldn't have been explained better! Loving your blog, followed, keep it up.
ReplyDeleteGreat info man, tanks
ReplyDeleteThis looks pretty elaborate.
ReplyDeleteThis is great!
ReplyDelete